How to Install Lightroom Presets (Mobile & Desktop)
Reading Time: 3 minsFollow this NEW tutorial (with images) for mobile version.
Adobe Lightroom is the most popular editing suite for photographers and bloggers in the world and it fully deserves that accolade. Learn how to install Lightroom presets. Lightroom offers a huge array of editing tools to get the most out of your images, and for the majority of people it’s the only editing program they will ever need. This is an easy Step-by-Step guide on how to install Lightroom Presets on a mac, pc and mobile.
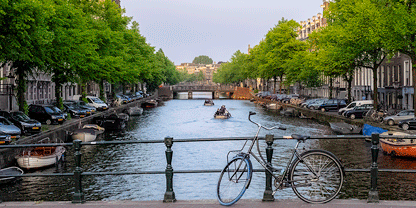
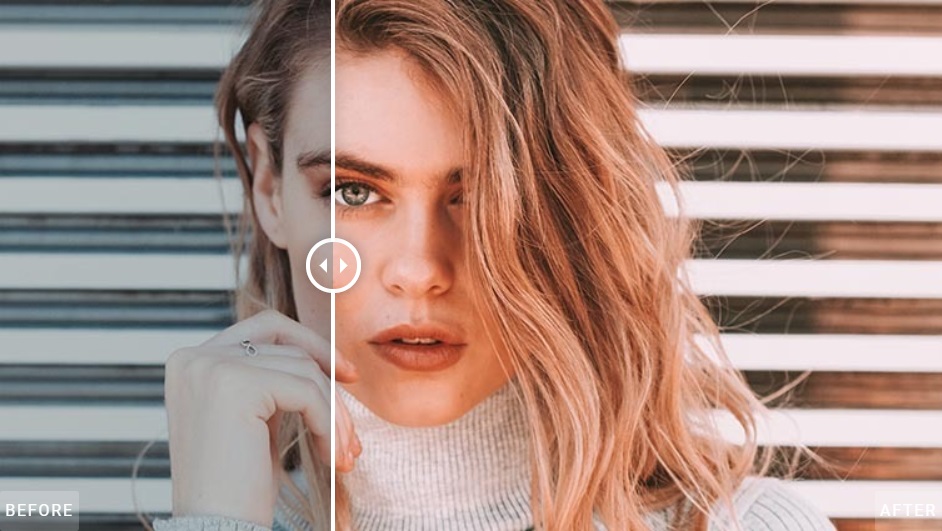
Why use presets at all? Here is a before/after photo above with example. You will also find the answer here: The Importance Of The Instagram Theme
Table of Contents:
How to install Lightroom presets?
First of all what device are you using (mobile or desktop) and what version? Desktop has 2 versions Classic and cloud while mobile has only 1 (cloud).
WINDOWS/MAC
Lightroom Classic:
This is a Classic version. Today it has more functions than the cloud version. Follow these instructions to install the presets.
- Unzip the file
- Open Lightroom
- Go to: Edit (on Windows) / Lightroom (on Mac) • Preferences • Presets
- Click on the: “Show Lightroom Presets Folder”
- Go to Lightroom • Develop Presets
- Copy the “ADV – pack name” folder into the Develop Presets folder
- Restart Lightroom
- You should now see all the preset folders in your Presets panel
You can also skip the step 2-5 and navigate to presets folder directly. It is usually located here C:\ Users \ yourusername \ AppData \ Roaming \ Adobe \ Lightroom \ Develop Presets
———————–
Lightroom CC:
This is a cloud version. It has less function than the Classic version but you can synchronize it with the mobile version which will allow you to share photos and presets between PC and mobile.
- Open Lightroom
- Go to the Develop module
- Look for the Presets panel and click the small + icon next to it
- Select Import from the dropdown menu
- Find the zip file, select it and Lightroom will import the presets
- Restart Lightroom
- You should now see all the preset folders in your Presets panel
——————————————————————–
MOBILE
Download app:
Follow this instruction with images.
The mobile version is free but I highly recommend getting the Photographer subscription anyway. Why? Because you will get a very powerful desktop version of Lightroom + Photoshop + 20GB cloud storage. And MOST IMPORTANT all your photos and presets will be synchronized on desktop version and mobile app! So you can install presets on desktop, edit some photos and then continue on your phone. Everything is transferred and synchronized automatically. Cool right?
But if you still want to use the free version here is a good video that will help you (you can start if from min 1:10) https://www.youtube.com/watch?v=W9QoqfyxJm4&t=60s
Otherwise you can read this manual:
If you have Lightroom Mobile app only:
Follow this instruction with images.
OR
- Unzip the file (you can use Izip app on the phone)
- Open the Lightroom app
- Import all the .DNG files
- Open the first .DNG file, tap on the 3 dots icon at the top right of the screen
- Tap on Create Preset
- Give your preset a name
- Save your preset
- Repeat this step for each DNG file
————————————————————–
If you have Lightroom on computer + mobile:
- We will sync the computer and mobile version
- Open Lightroom CC on your computer OR Get Lightroom CC trial from Adobe’s website
- Click: File > Import Profiles and Presets
- Import the presets (zip file)
- Open Lightroom Mobile App now
- Login with the same account on both computer version and mobile to sync with each other
——————-
IMPORTANT
——————-
Please keep in mind that the presets look different on every photo (depending on the light or the colors in the picture or the camera used). You might need to do some simple adjustments after the preset is applied.
When you try applying presets in Lightroom to any of the pictures:
– If the picture that you apply the preset to becomes too light/dark, you should change the exposure settings
– If the colour is different: then you should change color temp. If you still do not like the result,
then you change contrast settings
– You can also change HSL (hue saturation luminance) settings but that changes how light, dark or how saturated it is